How to Install Vintage Brass Cabinet Hardware: A Step-by-Step Guide for Timeless Elegance
- by Hamilton Brass
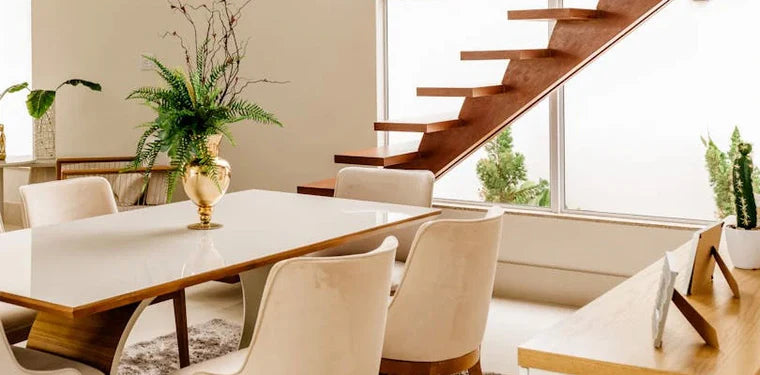
Transform Your Space with Vintage Brass Cabinet Hardware
There's something undeniably special about vintage brass cabinet hardware. These small yet significant elements can completely transform ordinary cabinetry into statement pieces that exude character and warmth. Whether you're renovating a historic home or adding timeless touches to a modern space, installing vintage brass cabinet hardware is a relatively simple project with dramatic results. This comprehensive guide will walk you through the entire process, from selecting the right pieces to maintaining their beauty for years to come. With proper installation techniques and a bit of patience, you'll soon enjoy the distinctive charm that only vintage brass cabinet hardware can bring to your home.
Preparing for Your Vintage Brass Hardware Installation
Before diving into your installation project, proper preparation is essential for achieving professional-looking results. Taking time to plan and gather necessary supplies will make the entire process smoother and more enjoyable.
Tools and Materials You'll Need
To successfully install your vintage brass cabinet hardware, gather these essential tools and materials:
Basic Tools:
Screwdriver (both Phillips and flathead)
Drill with various drill bits
Measuring tape
Pencil
Level
Cabinet hardware jig (optional but highly recommended)
Painter's tape
Center punch or nail
Hammer
Safety glasses
Materials:
Your selected vintage brass cabinet hardware
Appropriate screws (often included with hardware)
Wood putty (if filling existing holes)
Fine-grit sandpaper
Soft cloths for cleaning
Brass polish (optional)
Take inventory of your vintage brass cabinet hardware before beginning. Count all knobs, pulls, hinges, and ensure you have all necessary mounting hardware. Vintage pieces sometimes come without proper screws, so you may need to purchase these separately. The right screw length is crucial—too long and they'll protrude through the cabinet, too short and they won't secure properly.
If you're replacing existing hardware, determine whether the new pieces will fit the existing hole pattern. If not, you'll need to fill the old holes with wood putty, sand smooth, and prepare to drill new ones.
Step-by-Step Installation Process
Installing vintage brass cabinet hardware requires precision and care. Follow these detailed steps for professional results.
Measuring and Marking for Perfect Placement
Consistent placement is key to a polished, professional look. For cabinets without existing hardware:
Decide on placement: For upper cabinets, hardware typically goes in the bottom corner opposite the hinge side. For lower cabinets, place hardware in the upper corner opposite the hinge.
Create a template: For consistent placement across multiple cabinets, make a simple template using cardboard or sturdy paper. Mark where the holes should be drilled relative to the cabinet edge.
Mark your spots: Hold your template against each cabinet door, use a pencil to mark the drilling spots, then double-check with a level to ensure alignment.
Use a cabinet hardware jig: For the most precise results, invest in an adjustable cabinet hardware jig. This tool clamps onto your cabinet edge and provides perfect hole placement every time.
Secure your markings: Once you've marked your drilling spots, place a small piece of painter's tape over each mark. This prevents the drill bit from slipping and damaging your cabinet finish.
Create a pilot indent: Use a center punch or nail and hammer to create a small indent at each marked spot. This helps guide your drill bit precisely where you want it.
For drawers, center pulls horizontally, and place them about one-third of the way down from the top edge. For wider drawers that will have two pulls, divide the drawer front into thirds and center each pull in the outer thirds.
Drilling Holes and Mounting Hardware
With proper measurements and markings complete, you're ready to drill and install:
Select the right drill bit: Choose a bit that matches the diameter of your hardware screws. For most cabinet hardware, a 3/16-inch bit works well, but check your specific hardware requirements.
Drill carefully: Set your drill to a medium speed and drill straight into your marked spots. Apply steady pressure and be careful not to drill too deeply.
Test fit the hardware: Before final installation, test whether your vintage brass cabinet hardware fits properly in the drilled holes. Make adjustments if necessary.
Install the hardware: Insert the screws through the back of the cabinet door and attach to your vintage brass knobs or pulls. For pulls with two mounting points, insert both screws and partially tighten each before fully tightening either one.
Tighten appropriately: Secure the hardware firmly, but avoid over-tightening which can damage both the hardware and your cabinetry.
Special Considerations for Vintage Hardware
Vintage brass cabinet hardware often comes with unique challenges:
Non-standard sizing: Older hardware frequently has non-standard measurements. You may need to modify mounting holes or use adapter plates.
Thread compatibility: Vintage screws may have different threading than modern ones. If original screws are missing, take a sample to a specialty hardware store to find compatible replacements.
Fragile components: Handle vintage pieces with extra care. Some may have delicate decorative elements or aged metal that requires gentle handling.
Uneven patina: Embrace the character of uneven patination on vintage brass, or consider professional restoration if uniformity is desired.
Troubleshooting Common Installation Issues
Even with careful planning, you might encounter some challenges:
Misaligned holes: If your holes don't align perfectly with the hardware, slightly enlarge them using a round file or the drill bit with a gentle hand motion.
Stripped screws: For stripped screw holes, insert a wooden toothpick with wood glue into the hole, break off the excess, let dry, and then re-drill a pilot hole.
Door interference: If cabinet doors bump into newly installed hardware, adjust hinge placement or consider using bumper pads.
Loose hardware: If hardware becomes loose over time, remove it and apply a small amount of thread-locking compound to the screws before reinstalling.
Caring for Your Vintage Brass Cabinet Hardware
Proper maintenance ensures your vintage brass cabinet hardware remains beautiful for years to come.
Cleaning and Maintenance Tips for Lasting Beauty
Brass develops a natural patina over time that many collectors prize. If you prefer this aged look, minimal cleaning is required. However, if you want to maintain or restore shine:
Regular dusting: Wipe hardware with a soft, dry cloth weekly to prevent dust buildup.
Gentle cleaning: For routine cleaning, use warm water with mild soap and a soft cloth. Dry thoroughly afterward to prevent water spots.
-
Natural cleaning solutions: For deeper cleaning without harsh chemicals, try these natural options:
Equal parts white vinegar and salt, applied as a paste
Lemon juice and baking soda mixture
Cut lemon dipped in salt
Commercial brass cleaners: For stubborn tarnish, use a quality brass cleaner following the manufacturer's instructions. Test on an inconspicuous area first.
Protective coating: After cleaning, consider applying a thin coat of carnauba wax or specialized brass lacquer to slow future tarnishing.
What to avoid: Never use abrasive cleaners, steel wool, or harsh chemicals on vintage brass, as these can damage the finish and historical value.
Remember that frequent polishing can eventually wear down details on vintage pieces. Many enthusiasts prefer to clean gently and allow the natural patina to develop, which actually protects the brass and adds character.
Enhancing Your Home's Character with Vintage Hardware
The beauty of vintage brass cabinet hardware extends beyond functionality. These pieces tell stories and add authentic character to your space:
Mixing and matching: Don't be afraid to combine different vintage brass pieces for an eclectic, collected-over-time look. Just maintain consistency in finish tone for cohesiveness.
Complementary elements: Extend the vintage brass theme with complementary lighting fixtures, switch plates, or decorative objects for a cohesive design statement.
Historical accuracy: If restoring a period home, research hardware styles authentic to your home's era for historically accurate results.
Contrast and complement: Vintage brass hardware particularly shines against cabinet colors like navy blue, hunter green, black, or crisp white, creating beautiful contrast.
Wrapping Up Your Vintage Brass Hardware Project
Installing vintage brass cabinet hardware is a rewarding project that delivers significant visual impact with relatively modest effort. By following the proper preparation steps, measuring carefully, and installing with precision, you can achieve professional-looking results that will enhance your home's character for years to come.
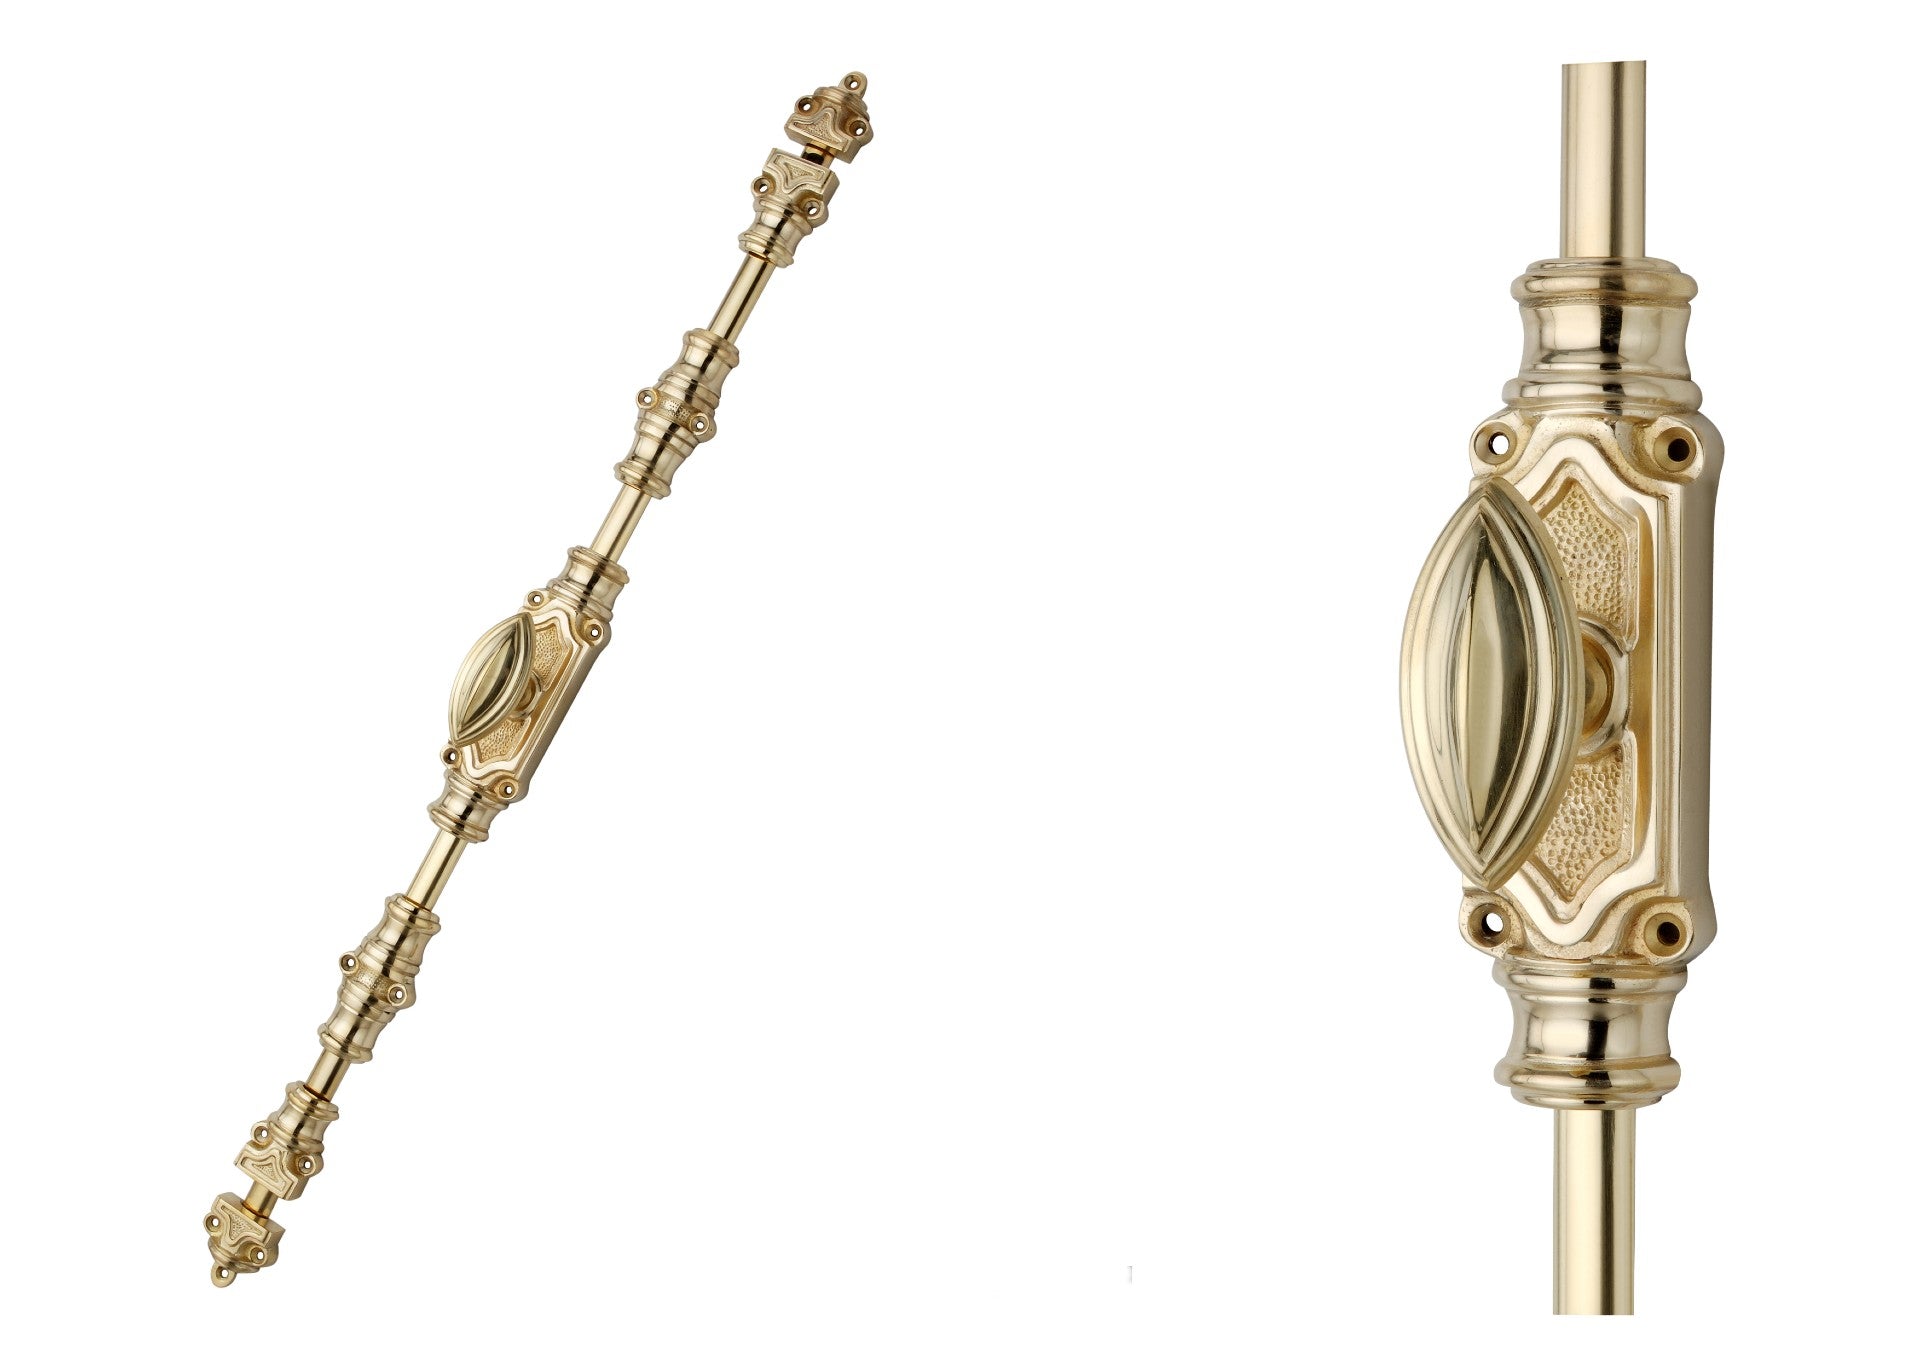
The warm glow and intricate details of vintage brass bring a sense of history and craftsmanship that's often missing in contemporary hardware. Whether you've chosen ornate Victorian knobs, sleek Mid-Century pulls, or anything in between, your vintage brass cabinet hardware serves as jewelry for your cabinetry, elevating the entire space.
With proper care and maintenance, these distinctive pieces will continue to develop character while functioning beautifully. Embrace the patina that develops over time as part of the authentic charm that makes vintage brass so desirable. Your thoughtfully installed hardware will not only serve a practical purpose but will also become a cherished design element that adds warmth and personality to your home.