Transform Your Kitchen with Vintage Cabinet Hardware Ideas: A DIY Installation Guide
- by Hamilton Brass

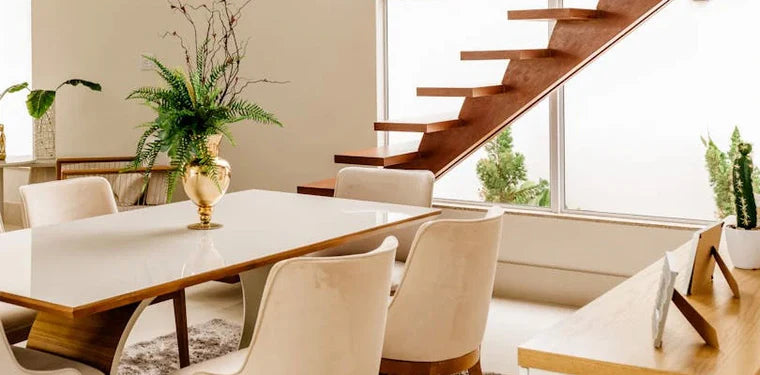
Bringing Timeless Charm to Modern Kitchens
There's something undeniably special about vintage cabinet hardware that can instantly elevate your kitchen's character. Whether you're renovating a historic home or simply want to add nostalgic touches to a contemporary space, vintage cabinet hardware ideas offer the perfect blend of form and function. The right knobs, pulls, and hinges can transform ordinary cabinets into conversation pieces while maintaining practical usability. This guide will walk you through selecting and installing vintage hardware that complements your kitchen's aesthetic, with techniques that ensure both beauty and longevity.
Choosing the Perfect Vintage Hardware Style
Selecting the right vintage cabinet hardware involves more than just picking pieces that catch your eye. The hardware should harmonize with your kitchen's overall design while reflecting the historical period that inspires you. From ornate Victorian brass pulls to sleek mid-century modern handles, each era offers distinctive styles that can dramatically alter your kitchen's personality.
Matching Hardware to Your Kitchen's Era
For authentic period charm, consider matching your hardware to your home's architectural style:
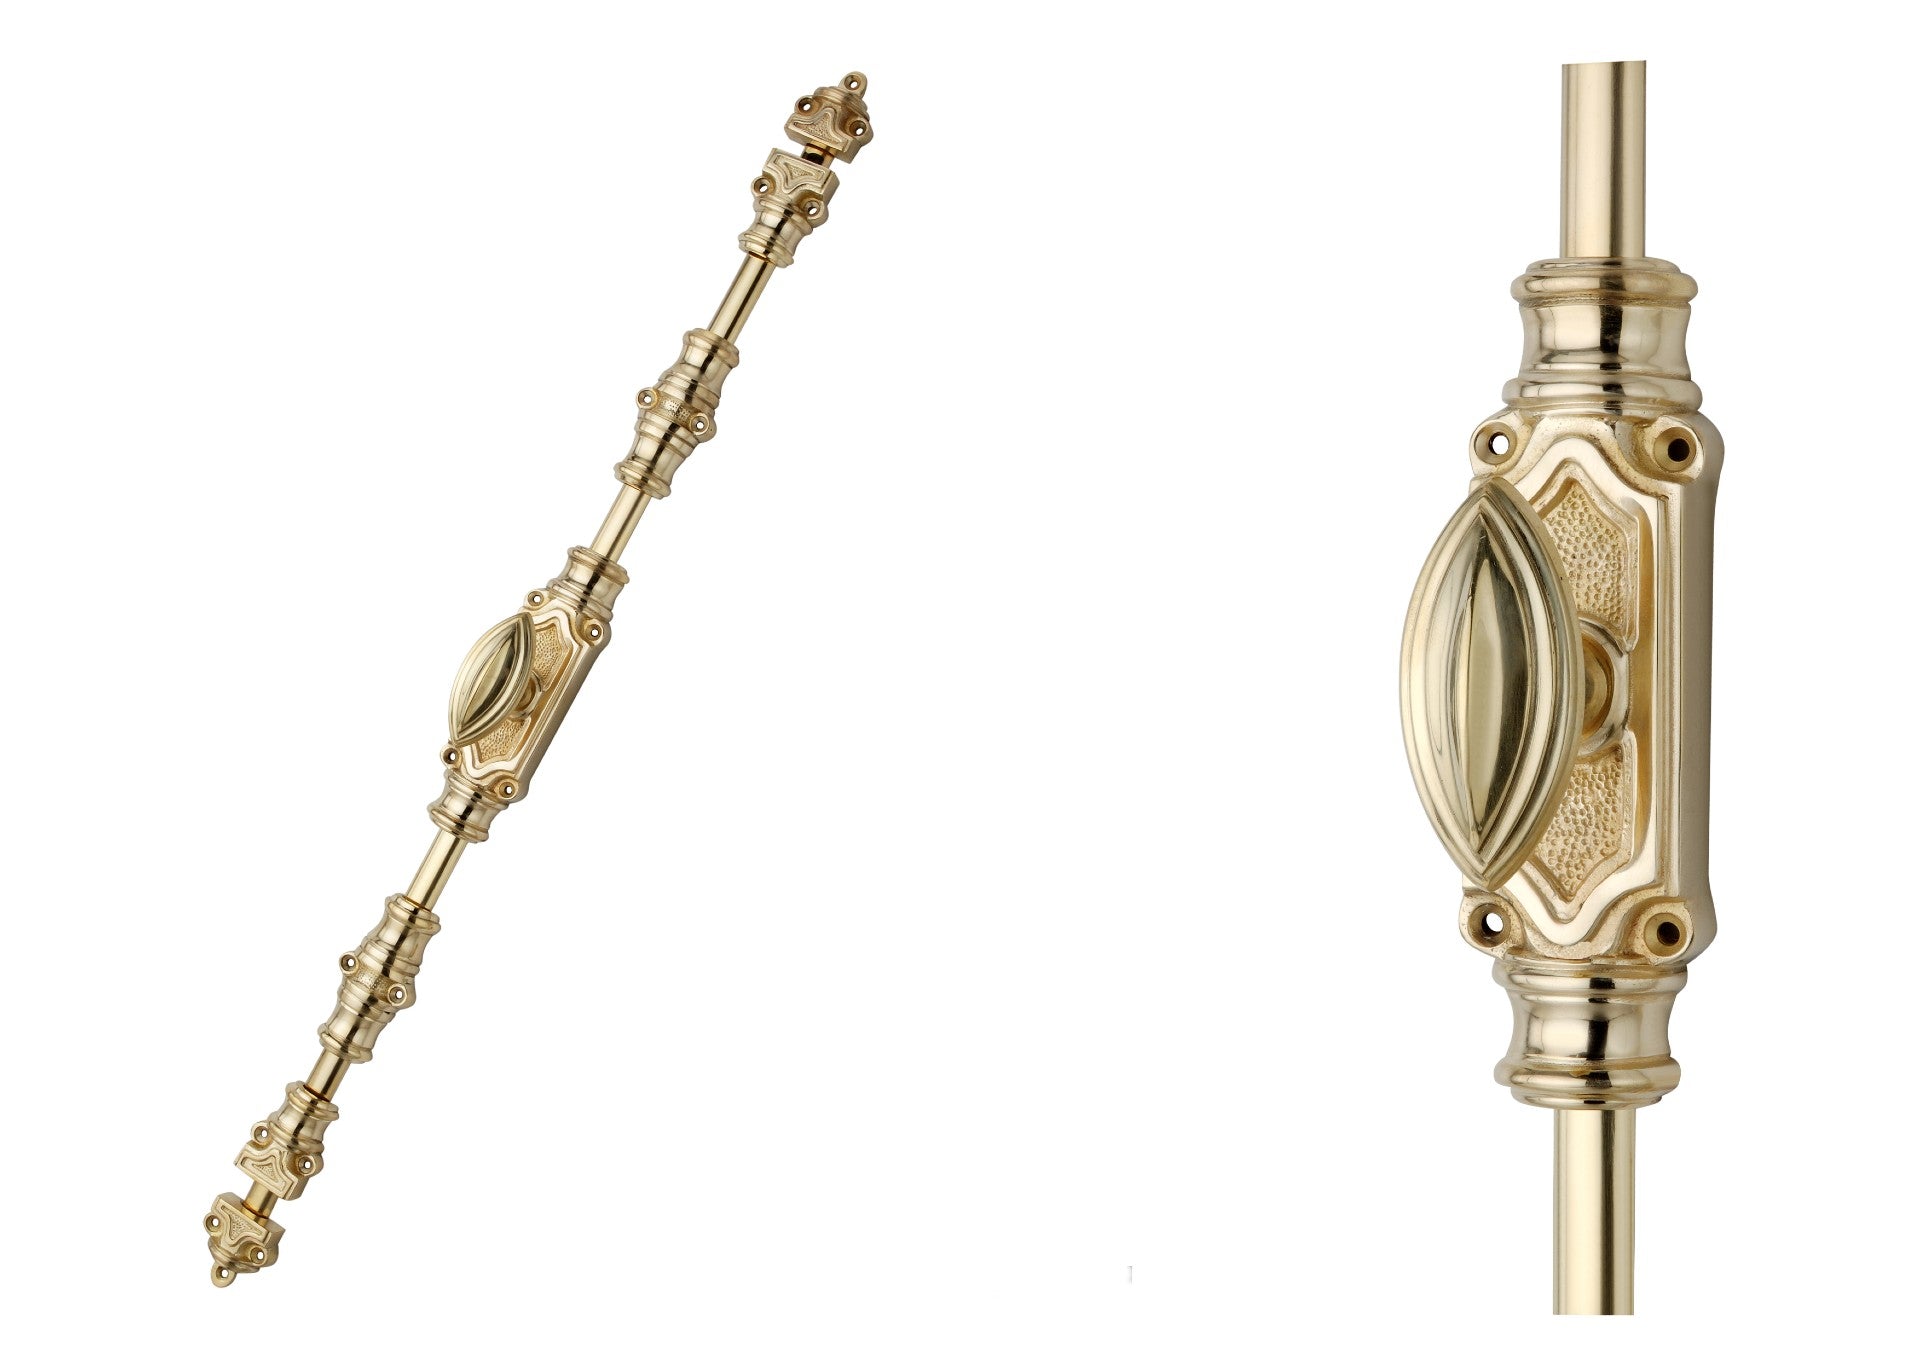
Victorian (1837-1901): Look for ornate brass or porcelain knobs with intricate details. Bin pulls with backplates were common for drawers, while cabinets often featured glass or ceramic knobs with decorative brass rosettes.
Arts and Crafts/Craftsman (1880-1920): Simple, handcrafted hardware with clean lines and natural materials like hammered copper, bronze, or iron works beautifully in these homes. Square or rectangular backplates with minimal ornamentation reflect this movement's emphasis on craftsmanship.
Art Deco (1920s-1930s): Geometric patterns, bold shapes, and materials like chrome and Bakelite capture this glamorous era. Look for stepped designs, sunburst patterns, or streamlined handles with strong horizontal lines.
Mid-Century Modern (1945-1970): Sleek, minimalist hardware with clean lines and materials like brushed aluminum, stainless steel, or plastic in bold colors embody this period's forward-thinking aesthetic.
When selecting vintage cabinet hardware ideas, consider whether you want true antiques or reproductions. Authentic pieces carry historical significance but may have wear or inconsistent sizing. Reproductions offer uniformity and modern durability while maintaining vintage appeal. For a cohesive look, choose hardware that complements other elements in your kitchen, like your faucet finish or lighting fixtures.
Essential Tools and Preparation Steps
Before installing your vintage hardware, gather these essential tools:
Measuring tape and ruler
Pencil for marking
Drill with appropriate bits
Screwdriver set (both flathead and Phillips)
Cabinet hardware jig (highly recommended)
Level
Painter's tape
Paper for templates
Center punch
Screws compatible with your hardware
Proper preparation prevents mistakes that could damage your cabinets or waste your vintage finds. Begin by removing existing hardware and filling any holes that won't be reused. Sand and refinish these areas to match your cabinet surface before proceeding.
Measuring and Creating Templates for Consistent Installation
Consistency is crucial when installing cabinet hardware, especially in kitchens with multiple cabinets and drawers. Follow these steps to create reliable templates:
Decide on standard placement positions for your hardware. For upper cabinets, hardware typically sits 2-3 inches from the bottom corner. For lower cabinets, 2-3 inches from the top corner is standard. Drawer pulls are usually centered horizontally with consistent vertical positioning.
Create a template using cardboard or heavy paper. For drawer pulls with two screws, measure the distance between mounting holes (center-to-center measurement) and mark this on your template.
Use painter's tape on your template to prevent slipping and to protect cabinet surfaces.
Mark drill points through your template with a pencil, then use a center punch to create a small indentation that will guide your drill bit accurately.
For vintage hardware with non-standard measurements, you may need to create custom templates for different cabinet sections. Take time to test your template on a hidden area or spare piece of wood before drilling into your cabinets.
Installation Techniques for Different Vintage Hardware Types
Installing vintage hardware requires attention to detail and sometimes creative problem-solving. Different hardware types present unique challenges that require specific approaches.
Working with Antique Knobs, Pulls, and Hinges
Knobs: Vintage knobs typically mount with a single screw. If your vintage knobs have threaded posts that don't match modern cabinet thicknesses:
Measure the cabinet thickness and the length of the threaded post.
You may need to cut the post to length or use a cabinet door adapter kit.
For knobs with separate screws, ensure you have the correct length screws that won't penetrate through the cabinet front.
Pulls: Drawer pulls with two mounting points require precise measurement:
Measure the center-to-center distance between mounting holes on your vintage pull.
If this doesn't match your existing holes, you'll need to fill old holes and drill new ones.
For pulls with backplates, you may need to chisel a shallow recess into the cabinet surface for flush mounting.
Hinges: Replacing hinges is more complex as they affect door alignment:
Remove one hinge at a time, keeping the door supported.
Use the old hinge as a template for positioning the new one.
If vintage hinges have different mounting patterns, you may need to fill old screw holes and drill new ones.
Install, then test door alignment before proceeding to the next hinge.
For hardware with unusual patinas or finishes, handle with clean cotton gloves to prevent oils from your hands affecting the surface. When working with genuine antiques, be especially gentle with fragile materials like porcelain or glass.
Creative Vintage Cabinet Hardware Ideas for Different Kitchen Styles
The beauty of vintage cabinet hardware is its versatility across different kitchen designs. Here are some creative applications to inspire your project:
For Farmhouse Kitchens: Incorporate bin pulls in aged brass or iron on drawers, paired with simple round knobs on cabinets. Look for hardware with authentic wear patterns or patina for that lived-in charm.
For Modern Kitchens with Vintage Accents: Create contrast with sleek cabinets and statement vintage hardware. Consider mid-century modern pulls in brushed brass against white or dark cabinetry for a sophisticated look.
For Eclectic Kitchens: Mix different vintage styles intentionally. Combine Victorian glass knobs with Art Deco backplates, or use different hardware finishes united by a similar shape or size.
For Small Spaces: Use vintage hardware as jewelry-like accents. Glass knobs can reflect light and add sparkle without overwhelming the space, while elegant brass pulls can elevate simple cabinetry.
Maintaining and Caring for Vintage Hardware
To preserve the beauty of your vintage cabinet hardware:
Clean according to material type. Brass and copper benefit from gentle polishing with appropriate metal cleaners, while porcelain or glass knobs should be wiped with mild soap and water.
Consider applying a clear protective coating to metal hardware if you want to maintain its current patina and prevent further aging.
Periodically check and tighten screws, as the natural expansion and contraction of wood cabinets can loosen hardware over time.
For heavily used cabinets, reinforce mounting points with wood glue and toothpicks if screw holes begin to enlarge.
Troubleshooting Common Installation Challenges
Even with careful planning, you may encounter issues when installing vintage hardware:
Problem: Vintage hardware doesn't fit modern cabinet thickness. Solution: Use mounting adapters or spacers to accommodate differences in thickness.
Problem: Screw holes strip in cabinet wood. Solution: Fill holes with wood glue and wooden toothpicks or dowels, allow to dry, then redrill.
Problem: Hardware sits unevenly against cabinet surface. Solution: Create a shallow recess using a Forstner bit, or add a thin washer behind the hardware to level it.
Problem: Vintage screws are too short or have different thread patterns. Solution: Visit a specialty hardware store to find compatible replacements that maintain the vintage look.
Transforming Your Kitchen, One Piece at a Time
Installing vintage cabinet hardware is more than a practical upgrade; it's an opportunity to infuse your kitchen with personality and historical character. The right vintage cabinet hardware ideas can bridge different design elements in your kitchen while creating visual interest that mass-produced hardware simply can't match.
Start your vintage hardware journey with a few statement pieces before committing to a complete overhaul. Perhaps begin with a set of special knobs for your most visible cabinets, or replace the hardware on your kitchen island as a focal point. This approach allows you to experiment with styles and installation techniques before investing in hardware for every cabinet.
Remember that proper installation ensures both beauty and functionality. Take your time with measurements, use templates consistently, and don't hesitate to seek help for complex installations. With patience and attention to detail, your vintage hardware will transform your kitchen into an authentic, personalized space that combines the best of yesterday's craftsmanship with today's functionality.